
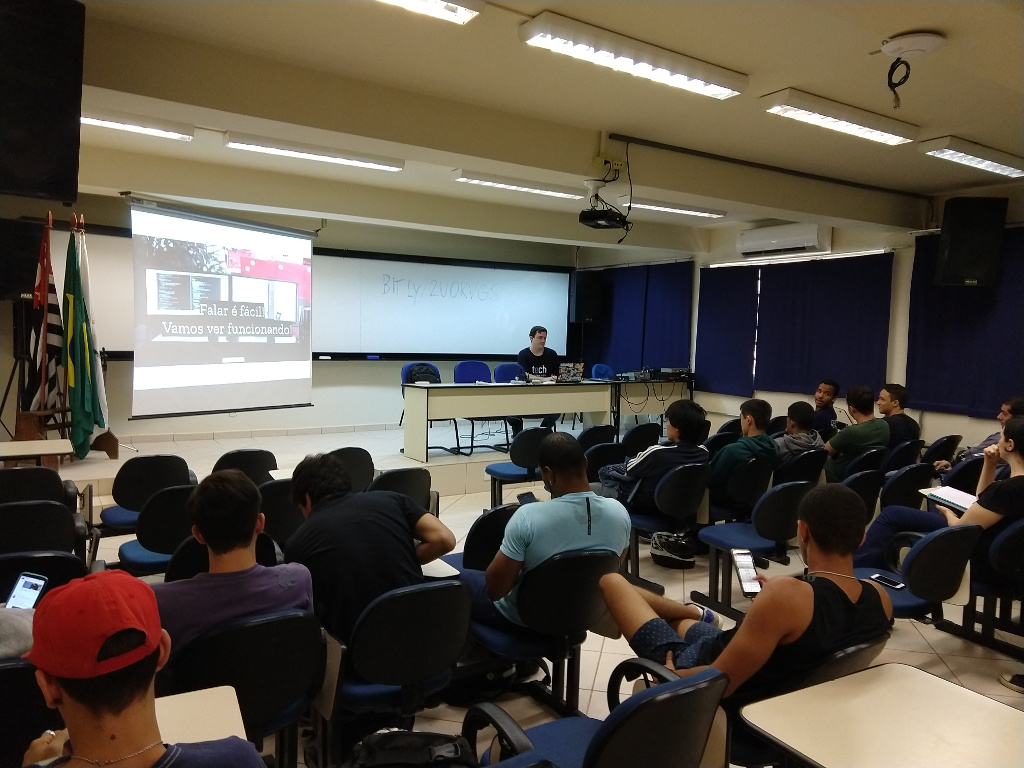
In 22th and 23th of April at Fatec Taquaritinga in Taquaritinga city I delivered three sessions of the talk “Internet of Things (IoT) and Mozilla WebThings”.
In this post, I’ll detail a little bit how the activity was and all the steps of the preparation for the content I presented to the students.
Pre-event
Before the presentation, it was necessary to set up the Gateway and an IoT thing to demonstrate how they work together. To speed up this process, I used the Raspberry Pi 3 Model B +Python to build a led that we can start trough WebThings Gateway!
For those who still haven’t heard about the project WebThings Gateway it is a Gateway for IoT developed with the purpose to be an easy way to connect IoT things to the Web, it guarantees the security and privacy of this communication for your IoT projects or WoT (Web of Things, for more information, click here)
The first step is the Gateway set up, for this configuration I used my computer running Linux Mint, I followed the steps presented here in the Github page. I believe this way it’s easier to demonstrate the Gateway working in a talk for example (if you have any questions from the set up, please share here in the comments).
With the Gateway running it’s time to prepare the Raspberry Pi to work with the led, I’m using the Raspbian on the Raspberry to make the process easier (tip: I set up my computer and the Raspberry Pi to use my cellphone as a router, this made things run smoothly because the event has no wifi connection).
The schematics to connect everything (Raspberry Pi 3 Model B):

In the schematics up here, we are using the pin 11 (BCM 17) to control the led.

For the Python code I followed the explanation found here, this was the starting point for the development of the code I used for the led. This is the final code:
from __future__ import division
from webthing import (Action, Event, Property, SingleThing, Thing, Value,
                      WebThingServer)
import logging
import time
import uuid
import RPi.GPIO as GPIO

// Configuring the GPIO Physical pin 11
GPIO.setmode (GPIO.BOARD)
GPIO.setup (11,GPIO.OUT)

def switch_led(v):
    // Send signal to Physical pin 11 (BCM 17)
    GPIO.output(11,v)

def make_thing():
    thing = Thing('Raspberry Led', ['OnOffSwitch', 'Light'], 'A web connected led')

    thing.add_property(
        Property(thing,
                 'on',
                 Value(True,lambda v: switch_led(v)),
                 metadata={
                     '@type': 'OnOffProperty',
                     'title': 'On/Off',
                     'type': 'boolean',
                     'description': 'Whether the lamp is turned on',
                 }))

    return thing


def run_server():
    thing = make_thing()

    # If adding more than one thing, use MultipleThings() with a name.
    # In the single thing case, the thing's name will be broadcast.
    server = WebThingServer(SingleThing(thing), port=8888)
    try:
        logging.info('starting the server')
        server.start()
    except KeyboardInterrupt:
        logging.info('stopping the server')
        server.stop()
        logging.info('done')


if __name__ == '__main__':
    logging.basicConfig(
        level=10,
        format="%(asctime)s %(filename)s:%(lineno)s %(levelname)s %(message)s"
    )
    run_server()
To make things easier I used this .sh script to start the project:
#!/bin/bash

dir=$(readlink -f $(dirname "$0"))
cd "${dir}"

system_option=""
if [ -f /etc/debian_version ]; then
    system_option="--system"
fi

if [ ! -d lib ]; then
    pip3 install $system_option --install-option="--prefix=" --target lib -r requirements.txt
fi

PYTHONPATH=./lib python3 single-thing.py
This script reads the essential requirements and verifies if something needs to be installed before starting the Python code. The requirements.txt file has the following content:
webthing>=0.11.0
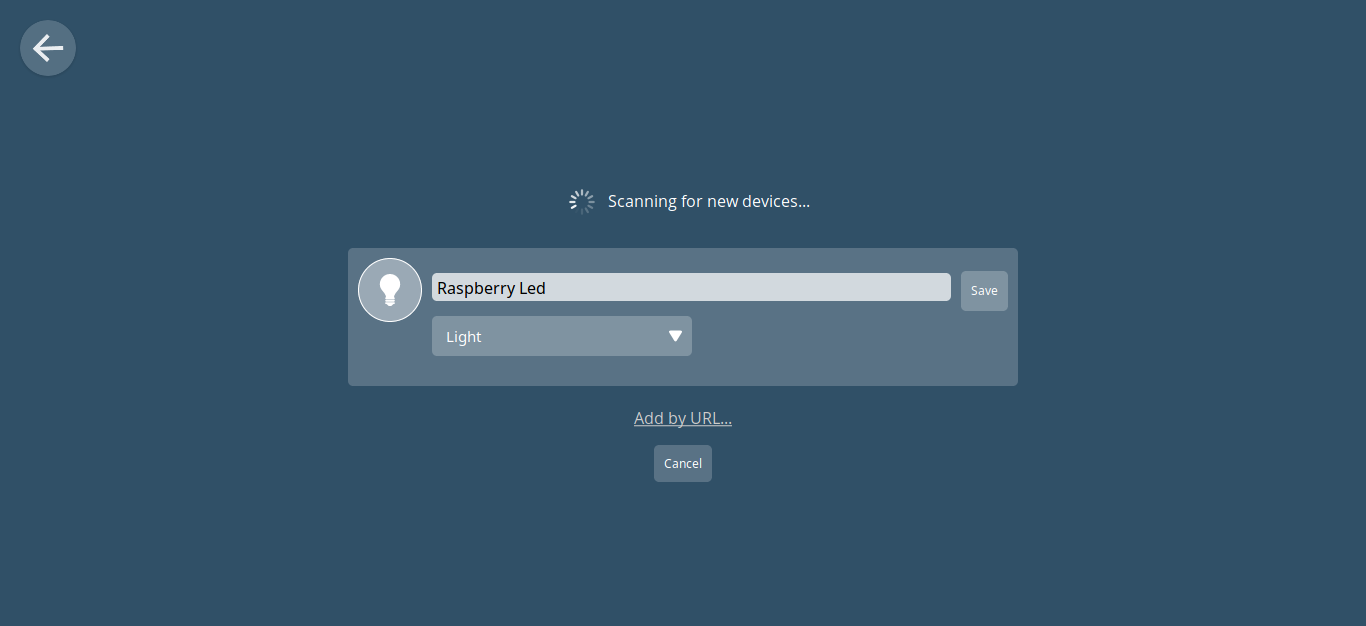
The startup process is very simple, we only have to turn on the Raspberry Pi, open the .sh script and wait for the server to start. In the sequence it’s already possible to add the led to the Gateway trough the add button.

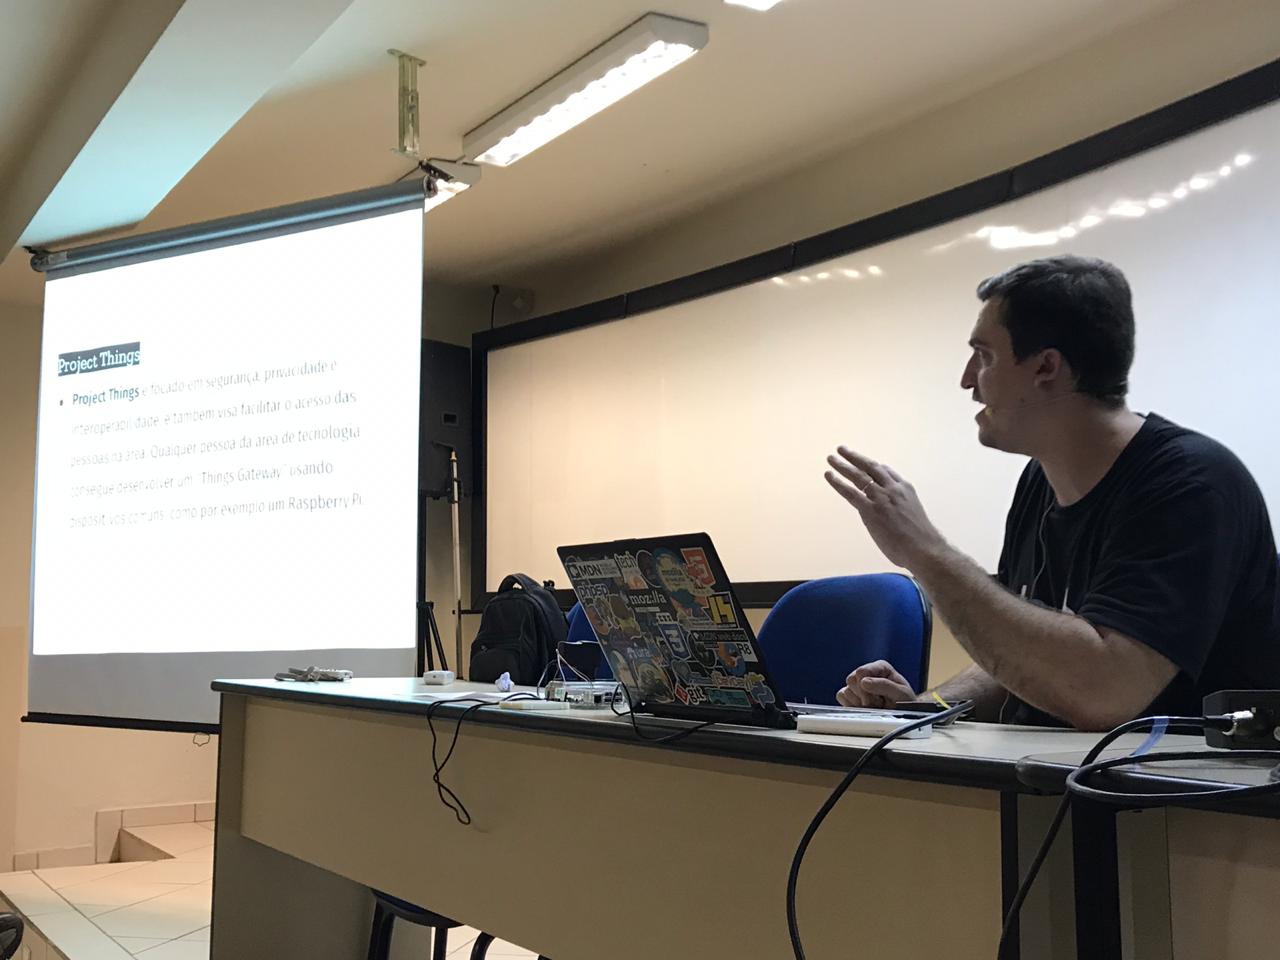
During the event
The talks went great, during the presentation the main questions are related to privacy and security of IoT/WoT, maybe because graduation students formed the public this may be an essential topic to them when they have to adopt a technology.
Some students asked if they could adapt an existing Arduino project, I shared with them the links to the Framework documentation and a brief explanation about what they can do. The presentation had the following topics: Introduction, IoT, Mozilla + IoT, WoT and finally the demonstration of the Gateway, the explanation about the setup, and the steps to build the Thing using the Raspberry Pi and the led.
You can find the slide deck here (only in pt-BR).
After the event
The next step will be: change the led to a lamp using a relay and the Raspberry Pi, this will bring more impact to the demonstration (the led are not brighter enough for bigger spaces/audiences).
Another thing I want to implement is the automatic startup of the script when I turn on the Raspberry Pi, and maybe weld the project assembled to make easier to transport and to connect everything with the Raspberry Pi in next presentations.
I sent a CFP with this talk for upcoming events in the following months, when I have news I’ll share them here! 😀
See you!
One thought on “IoT and Mozilla WebThings at Fatec Taquaritinga”